Backpackers need water and a lot of it. In some cases, this is as easy as packing enough water for your trip. In other instances, it’s as easy as using the right water filtration system.
Throughout this article, we’ll discuss the different options backpackers have when it comes to getting clean drinking water while backpacking.
Table of Contents
Packing Enough Water
For short backpacking trips or for backpacking trips through areas without any water, you may want to just pack your own. In fact, in areas without water, the foresight to pack enough water could mean the difference between you having enough water and you not having enough.
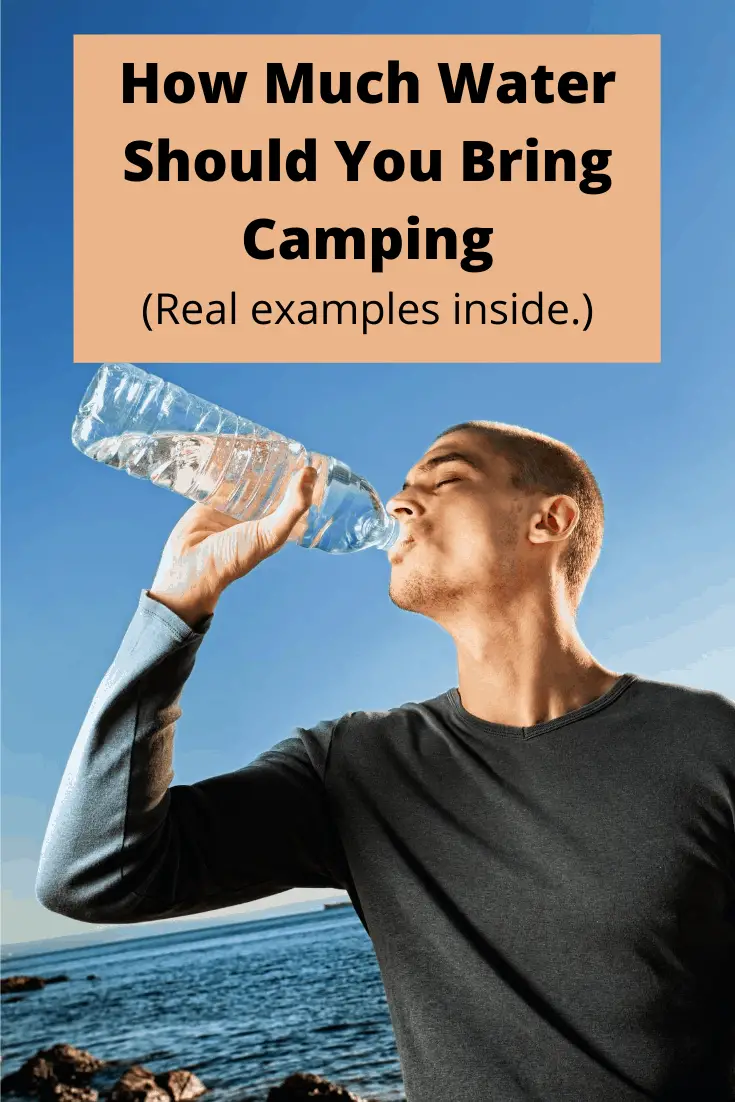
So how much water should you pack when backpacking?
People need a fair amount of water even when they aren’t backpacking or doing strenuous exercise. Typically, a healthy person should be drinking somewhere between half of a gallon to a full gallon of water each day, (2 to 4 liters for anyone residing outside of the US, Liberia, and Myanmar). When you go backpacking, this amount may need to increase dramatically.
Backpacker.com suggests that backpackers drink somewhere between 6 – 12 ounces of water for every 20 minutes of backpacking. This means that every hour of backpacking could have you drinking between 18 and 36 ounces of water. Head out on a long trip and you could find yourself drinking more water than you can carry in just a matter of days.
Of course, the amount of water each person needs to stay hydrated will vary based on a person’s size, the intensity of the hike, and even the climate. For instance, a person hiking in the desert in the summer is probably going to need much more water than somebody hiking through the woods in the fall.
Incidentally, you can reduce the amount of water you need to drink by doing the following:
- Protect yourself from the sun. This might include wearing a wide-brimmed hat and a long sleeve shirt.
- Wearing appropriate clothes. Loose-fitting clothing is best in the summer and dressing in layers works best in the winter.
- Timing your trip. Try to do the majority of your hiking in the morning or evening when the sun isn’t at its peak and when the temperatures are a little lower.
At this point, you may be thinking that you can “tough it out” for a few days and just drink less water than you need.
Please don’t consider doing this.
Dehydration can lead to serious short and long term injuries and can even lead to death. For example, even if you make it through your backpacking trips without much water, you could be setting yourself up for kidney damage or kidney stones in the near future.
Even if you don’t get dehydrated enough to do any serious damage to yourself, you’ll find the experience unpleasant. A case of mild dehydration can lead to headaches, muscle cramps, fatigue, and even chapped lips.
If you can’t pack enough water, be sure to make alternative arrangements for obtaining it. In the next sections, I’ll give you some alternative ways of getting water while backpacking.
Going to Town
Thru-hikers often just head into town to get water. When you’re committing to a long hike that ranges hundreds or even thousands of miles, taking a detour of a few miles to stock up on water isn’t really a big deal. In fact, on a long thru-hike, you’ll probably want to go to town regularly to resupply, shower, and do laundry.
You can get water for free at gas stations or from fountains at rest stops. Otherwise, you could buy it from grocery stores or you could even ask a friendly community member to fill them up in their house or from their garden hose.
Getting Water Dropped Off
Some long-distance backpackers will have supplies of food, water, and even fresh clothing dropped off for them. This can be done by friends or family members or you could pay a professional company to do it for you.
The only word of caution with this method is that you should have a backup method of getting water just in case the water never shows up. The people dropping off your water could forget, they could get lost, or they could even be prevented from dropping your water off due to a fire, road closure, or some extreme weather event.
Finding Water in the Backcountry
Another option for finding water is to use naturally occurring water sources in the backcountry. Rivers, streams, lakes, and ponds can all be a good source of water but they aren’t the only sources.
Some trails will have springs or wells located alongside them that you can use. In other areas, ranchers may have water set aside for their cattle. This can be found in the form of water troughs and cattle ponds. Just be aware that this water is not safe to consume without proper filtration and it certainly won’t be the most glamorous water to look at. However, if filtered properly, this water can be completely safe to drink.
Here is a video of one of my favorite youtube hikers drinking from a cow pond.
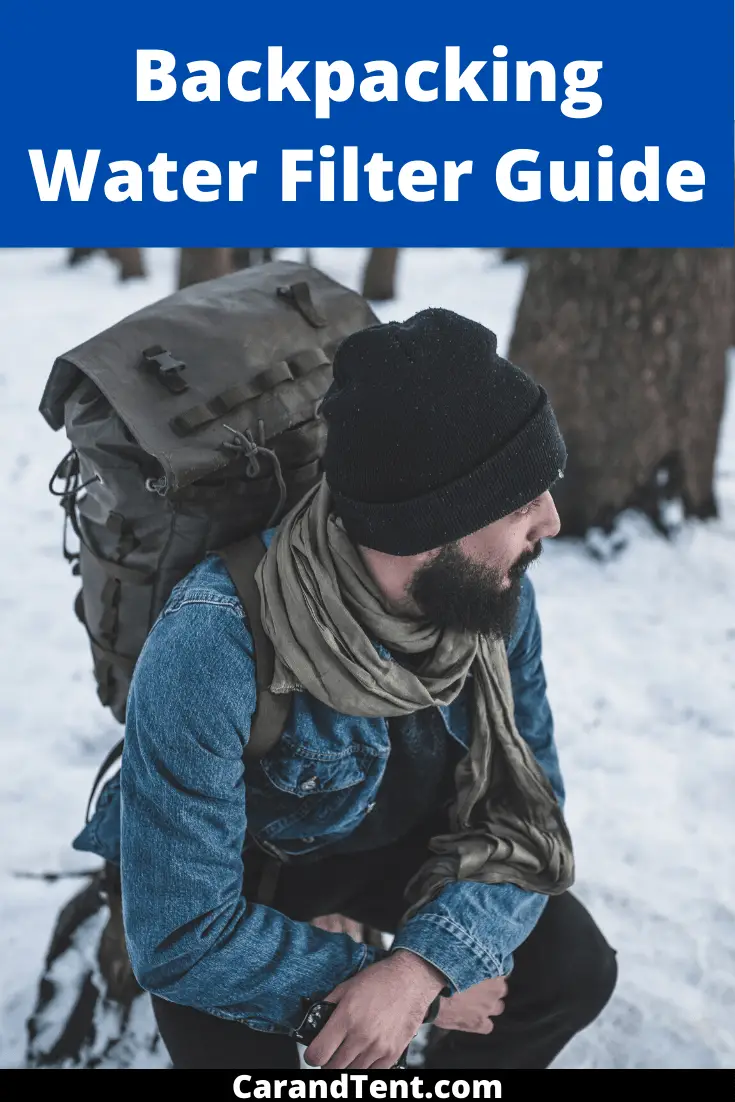
Filtering Water
There is a multitude of ways backpackers can filter water. One of the oldest methods for filtering water is to pour the water through a cheesecloth or some other material that will catch debris while allowing water to flow through it. This water can then enter a pot that you could boil until it is safe to drink. Remember, at high altitudes, water will need to boil for longer periods than at low altitudes. Just to be safe, I always let my water boil for a full five minutes.
The major downside to boiling water is that you need to have a way to boil the water. This could mean packing a backpacking stove, a pot, and fuel. Also, this method takes a while as you have to filter the water, boil the water, and then wait for the water to cool before you can drink it.
Another method would be to filter out the materials like above, but instead of boiling the water, you’d use a water purification packet to clean it instead. These tablets could be made of iodine, NaDCC, or Chlorine Dioxide.
Just keep in mind that these tablets won’t always protect against all potential health threats. According to SectionHiker.com, Iodine tablets will protect against viruses and bacteria but not giardia or cryptosporidium. NaDCC will protect against viruses, bacteria, and giardia, but not cryptosporidium. Chlorine dioxide tablets will protect against viruses, bacteria, giardia, and cryptosporidium.
Which Water Purification Tablet to Use
I’ve used the iodine tablets and they make your water taste horrible. They also turn it brown so that the water doesn’t even look appealing to drink. On top of this, they don’t protect against giardia and cryptosporidium, which are common in backcountry water sources. I wouldn’t use iodine tablets again unless I really had to.
The other two types of tablets make use of chlorine. This makes them effective but it can also make them toxic to humans. If you decide to go with one of these tablets, make sure you use the appropriate number of tablets with the recommended amount of water. More is not better in this case but neither is less, so follow the directions to the letter.
Personally, I think it is good to have some tablets on you for emergencies but would rather go with a good water filter whenever possible. Let’s take a look at some of the different types of water filters you can use.
The Different Types of Water Filtration Systems and Purifiers
A standard water filtration system will filter out giardia and cryptosporidium but will not filter out small viruses and bacteria. In this case, you might use the filter in concert with iodine tablets to make the water as close to 100% safe to drink as possible. I say as close to 100% as possible because there is always a chance with any type of filter system that something could slip through.
Another tool that could be used with a standard water filtration system is a UV system. In this case, the UV system would kill the viruses and bacteria and the water filter would do the rest.
For complete protection in one system, a water purifier is your best bet. A water purifier has filtration systems that are small enough to filter out viruses and bacteria while also filtering out cryptosporidium and giardia as well.
Purifying systems cost more and filter the water more slowly but they provide the most protection. For this reason, it’s usually a good idea to go with the more expensive water purifier over the basic water filter.
Use Methods of Water Purifiers and Water Filters
Another feature to consider when buying a water filter or purifier is how it is used. Some filters will work using gravity while others will work with the use of a pump. Additionally, some filters can be drunk through. In fact, some smaller filters may even work just like a straw. The most popular of this kind comes in the form of the product known as the Life Straw, which you can find here.
Pump Filters and Purifiers
Pumps are nice because they aren’t very difficult to use or maintain and they can put some distance between you and the water source. In most cases, you’ll just attach them to your water bottle.
With these types of filters and purifiers, the more you pump, the more clean water you’ll have to drink. The drawback is that pumps can take up more space in your backpack and you do have to actively work them to get water from them.
Gravity Filters and Purifiers
Gravity filters and purifiers consist of two bladders some hoses, a strap, and a filter. Essentially, you’ll fill up one bladder with dirty water, hang it up by the strap, and gravity will send it through a pipe, a filter, and then another pipe until it ends up in the second bladder as clean water.
This type of filter is even bulkier than the pump filter and it can take a long time to purify your water. On the other hand, you don’t have to do any work to get it to clean your water and the bladders are large so you do end up getting a lot of clean water at the end.
Drink-through Filters and Purifiers
These filters and purifiers can come in the form of bags with drinking caps on them, bottles with drinking caps on them, and even large straws. With these, the dirty water goes in the bag or bottle and the drinking cap acts as a filter. With the straw, the straw acts as a filter and you just dip the other end into the dirty water or a bottle with dirty water inside of it.
A drink-through filter is a great addition to a backpack because it is small and lightweight. The downside is that you can’t use it to filter water for purposes other than drinking. For example, if you want to filter water before washing your face or cooking your food, these types of filters will not work.
So What Happens If You Drink Dirty Water
In the United States, you’re less likely to have to worry about giardia and cryptosporidium. However, you will have to worry about viruses and bacteria. Drinking these could make you sick and you could even end up dying as a result.
Giardia can give you diarrhea, nausea, and an upset stomach. This can lead to further dehydration. This bug is a parasite and you may end up needing prescription drugs to get rid of it.
Cryptosporidium is also a virus and it can cause all of the symptoms of giardia plus vomiting. Obviously, this can also lead to dehydration and symptoms can last for up to 30 days. In extreme cases, cryptosporidium could kill you.
Final Thoughts
Don’t drink dirty water but don’t go without water either. Also, don’t count on streams or springs always being available. These water sources can dry up so you’ll always want to have contingency plans in place for obtaining water.
Spend a lot of time determining how and where you’ll get your water and how you’ll clean and filter it so that you can have a fun, happy, and healthy backpacking trip.