If you’re an avid hiker like us, then you know that your boots can make or break your experience on the trails. However, many folks are left wondering exactly how to clean hiking boots to ensure they last and continue to provide the comfort and support we need.
In this guide, we’re going to take a step-by-step journey through the process, demystifying the do’s and don’ts, and ensuring your boots are ready for your next big adventure. So, lace up (or in this case, unlace!) and let’s get started.
Why Cleaning Your Hiking Boots Matters
So, you’ve made it back from an epic hike, your boots are covered in mud, dust, and memories, and you’re ready to toss them into a corner until your next adventure. But hold on a minute, let’s chat about why taking the time to clean your hiking boots is so critical.
Firstly, hiking boots aren’t just any old pair of shoes. They’re a significant investment and, when cared for properly, they can last for many adventurous years. Cleaning them regularly helps maintain their durability and integrity, ensuring they continue to provide the protection, comfort, and support you need when you’re out exploring the great outdoors.
Secondly, think of all the different elements your boots get exposed to. On any given hike, you can expose them to mud, water, snow, gravel, sand, and even salt. Each of these can degrade the materials of your boots over time, particularly if they are left untreated. By properly cleaning your boots, you can minimize these harmful effects and keep them trail-ready.
Finally, let’s not forget about comfort. Hiking in dirty, crusty boots can lead to discomfort, blisters, and a generally less enjoyable hiking experience. On the flip side, a clean, well-maintained boot will feel just as comfortable at mile ten as it does at mile one.
In short, understanding how to clean hiking boots and why it’s important is the first step to many happy trails. So let’s roll up our sleeves and dive into the nitty-gritty of keeping those boots pristine!
Getting to Know Your Boots: Identifying Material
Before you jump into cleaning your hiking boots, it’s essential to know what they’re made of. Different materials require different care methods, so understanding this crucial detail can ensure that you’re cleaning your boots effectively, without causing unintentional harm.
Most hiking boots are typically made of one of three materials: leather, synthetic, or a combination of both.
Leather Hiking Boots
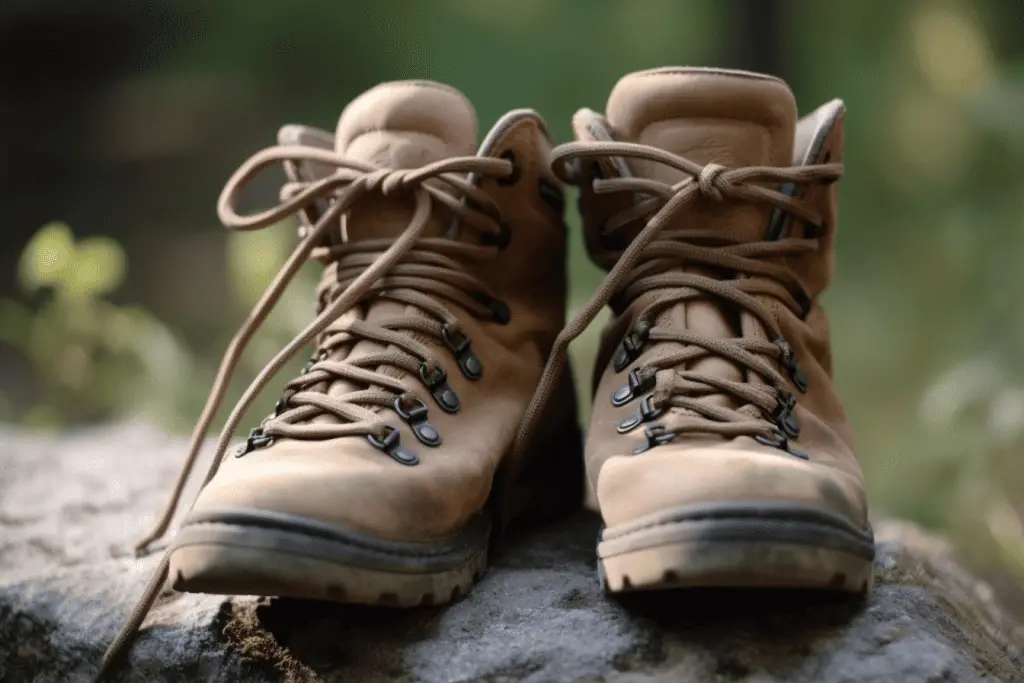
Leather boots can be made from full-grain, split-grain, or nubuck leather. Full-grain leather is tough, durable, and highly water-resistant, making it a go-to for heavy-duty hiking boots. Split-grain leather is often paired with synthetic materials, resulting in a lighter but less water-resistant boot. Lastly, nubuck leather, which resembles suede, is highly durable but requires extra care to maintain its appearance.
Synthetic Hiking Boots
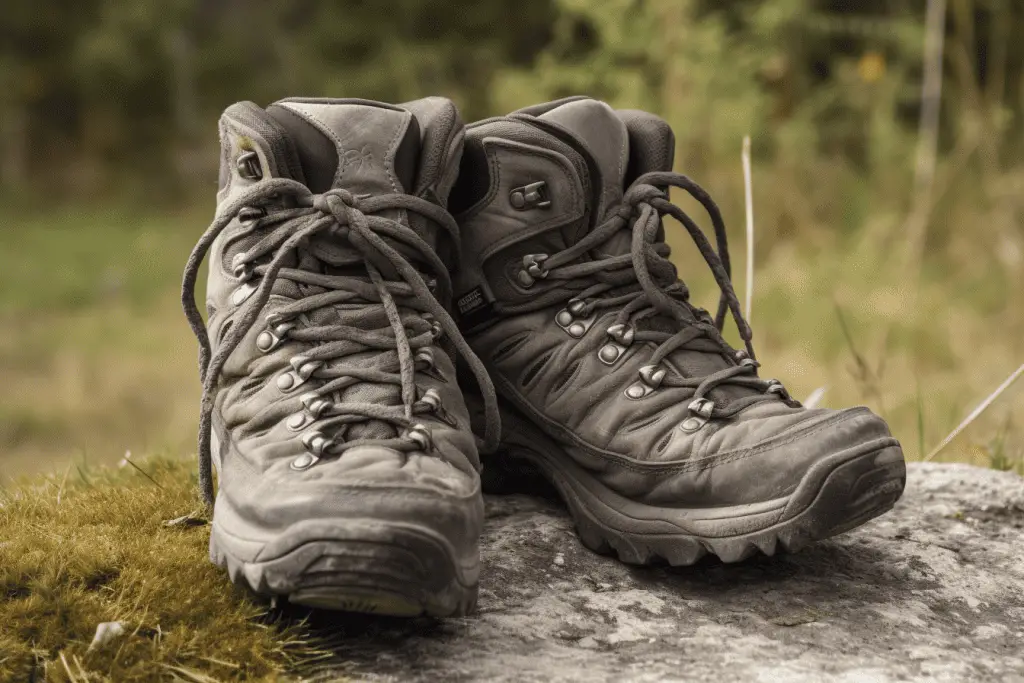
Synthetic boots, on the other hand, are usually lighter, breathable, and break in more quickly than their leather counterparts. They’re typically made from nylon or polyester and are usually more affordable but may not last as long.
Combination Hiking Boots
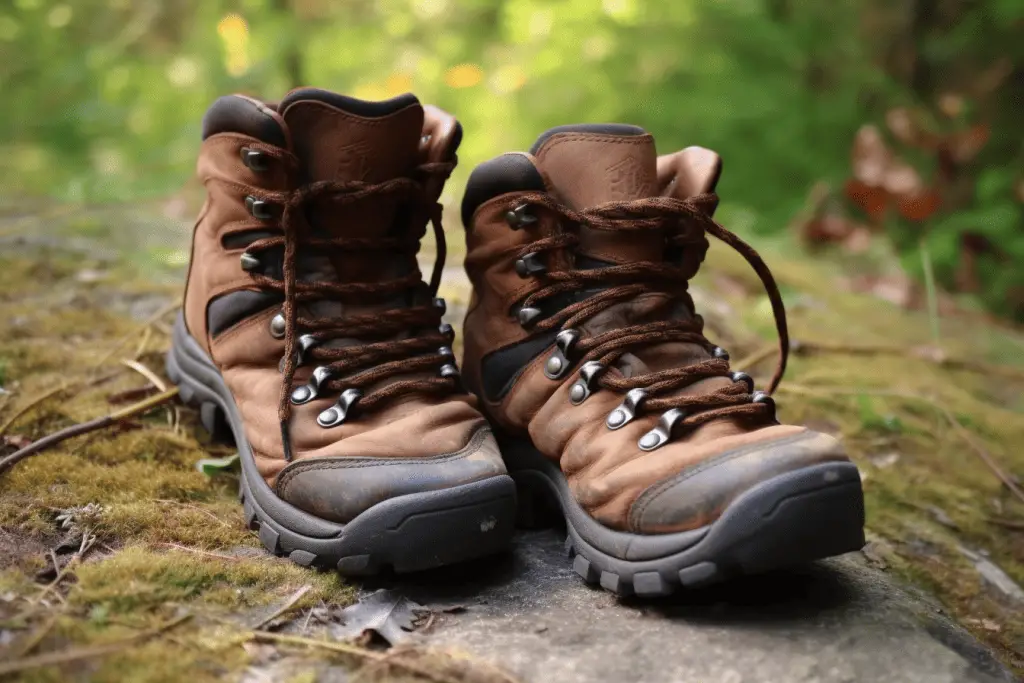
If your boots are a combo of both, they’ll have areas of leather (for durability and support) and patches of synthetic materials (to reduce weight and increase breathability).
Take a moment to check the manufacturer’s tag or the product description from where you purchased your boots. If you’re still unsure, a quick search of your boot’s brand and model should provide you with the material information.
Knowing your boot’s material isn’t just boot trivia – it’s the key to effectively cleaning and maintaining them. With this in hand, you’re ready to gather your cleaning supplies and tackle those dirty boots head-on!
Techniques and Tips for Cleaning the Exterior
Now that we’re clear on what our boots are made of, it’s time to tackle that grime and dirt on the exterior. Whether your boots are coated in thick mud or just dusty from a dry trail, cleaning the exterior properly will keep them in tip-top shape for many hikes to come.
Start by removing any large chunks of dirt or mud using a soft brush or an old toothbrush. If you’ve been hiking in a muddy area, you might need to rinse the boots with lukewarm water to remove all the clumps. Remember, never use hot water as it can damage the material of your boots, especially if they’re made of leather.
Next, prepare a mild solution of warm water and a gentle soap. Avoid using harsh detergents or dish soap as they can strip away the natural oils in leather boots. Using your soft brush, gently scrub the exterior of your boots. For leather boots, take care not to soak the material, as overwetting can lead to drying and cracking.
Stubborn stains or scuff marks might need a bit more attention. There are several boot cleaners available on the market specifically designed for tough spots. Just remember to choose one that suits your boot’s material.
Finally, rinse your boots thoroughly with clean, lukewarm water. Make sure all soap suds are rinsed off, as any residue left on the boots can attract more dirt and dust.
By now, your boots should be looking considerably cleaner! It’s not a race, so take your time to ensure you’re giving your boots the care they deserve. Next, we’ll move on to the interior – the key to fresh and comfortable feet on your hikes!
How to Clean the Interior of Your Hiking Boots
Once the exterior of your boots is all clean, it’s time to freshen up the inside. After all, a clean interior means comfortable feet and comfortable feet make for happy hikers! So, here is how to clean hiking boots on the inside.
Start by removing the insoles if they are removable. These can usually be cleaned separately with the same mild soap solution used for the exterior. Gently scrub them, rinse thoroughly, and then let them air dry. Never put them directly under heat or in the sun as this can cause them to warp.
Next up, let’s tackle the inside of your boots. Using a mild soap solution and a soft brush or cloth, gently clean the interior. This will help to remove any dirt, sweat, and bacteria that may have built up inside. Be mindful not to soak the interior, but ensure it’s sufficiently cleaned.
How do you get the smell out of hiking boots?
For a deep clean or to tackle any unpleasant odors, consider using a specialized boot deodorizer. These are designed to kill bacteria that can cause bad smells, and many can be sprayed directly into the boot.
If you want to go with a DIY method, mix water and baking soda in a spray bottle and spray the inside of the shoes. For more stubborn odors, replace the baking soda with borax. Borax will bring the PH levels lower than baking soda but it is a harsher cleaning agent so I always try baking soda first.
Finally, rinse the interior lightly with lukewarm water. Be careful to avoid soaking the material as this could take a long time to dry and potentially promote the growth of mold or mildew.
Once you’ve finished, it’s critical to dry your boots correctly to prevent any damage. But don’t worry, we’ll guide you through that process next. By now, your boots should be smelling fresh and looking almost as good as new. Just a few more steps, and you’ll be all set for your next adventure!
Best Practices for Drying Your Hiking Boots
We’ve successfully cleaned our boots, and now it’s time for them to dry. But here’s the thing – how we dry our boots is just as important as how we clean them. Incorrect drying can lead to material damage, shrinkage, and even shorten the life of your boots. But don’t fret, we’ve got the best practices lined up for you.
First and foremost, never dry your boots under direct heat or in the sun. This might sound counterintuitive, but direct heat can cause the materials, especially leather, to dry out, crack, or warp. Avoid placing them near radiators, fires, or in hot car boots during summer.
Instead, let your boots dry naturally in a well-ventilated area at room temperature. Open up the boots as much as possible by removing the insoles and laces. This will allow the air to circulate freely and speed up the drying process.
If your boots are particularly wet, you might want to stuff them with old newspapers or towels, which will help absorb the moisture from the inside. Remember to replace the paper or towels every few hours as they absorb water.
Using a boot dryer is another great option. These devices gently circulate warm air around the boots, promoting quick drying without the risk of damage.
Patience is key here, as drying can take some time. Never wear your boots until they are completely dry, as damp boots can breed bacteria and lead to blisters.
Next Steps
Once your boots have been successfully cleaned and dried, you may need to waterproof them again. Check out our guide on how to waterproof hiking boots for how to do it.