Anyone can figure out how to put a tent up but learning how to pitch a tent like a pro will take your camping game up a notch. If you’ve ever gazed longingly at those scenic photos of tents pitched amidst breathtaking landscapes and thought, “I wish I could do that,” you’re in the right place. Pitching a tent might seem a bit daunting if you’re new to it, but we’ve got you covered.
In this easy-to-follow guide, we’ll break down the process of setting up your tent into simple steps, turning you from a camping newbie to a tent-pitching pro in no time. From selecting the perfect campsite to securing your tent firmly and weatherproofing it, we’ll walk you through every stage with practical tips and advice. So grab your gear, and let’s dive in. By the end of this guide, you’ll be ready to set up camp and enjoy your home away from home in the great outdoors.
Step 1: Select Your Campsite
Choosing the right campsite can make or break your camping experience. You’re looking for a Goldilocks zone that’s flat, smooth, and free from sharp rocks, sticks, or other debris. It’s like preparing a canvas for an artist – the flatter and smoother it is, the better your final “art piece”, aka your tent, will turn out. Consider also the level of sunlight and shade, as well as how water might flow during a rain – you don’t want to wake up in a puddle!
Keep an eye on safety too. Be sure to set up a safe distance from your fire pit, if you’re having one, to avoid any potential fire hazards. Similarly, don’t pitch your tent too close to a body of water. Not only could rising tides or heavy rains cause issues, but water sources often attract wildlife. So unless you’re keen on a surprise visit from a curious critter, it’s better to keep some distance!
Step 2: Unpack and Organize
Think of this step like setting up your cooking ingredients before you start the actual cooking. You need to know what you’ve got, and where it is. So, pull your tent, poles, and stakes out of the bag. Lay everything out neatly so you can see all of your gear. There’s nothing worse than fumbling for a tent stake in the dimming light because you didn’t realize you had one left in the bag.
Now, take a minute to familiarize yourself with the different parts. Typically, you’ll have the main body of the tent, a set of poles, and some stakes. Some tents come with extra bits and pieces like a rainfly or a footprint. Knowing what each part is and what it’s used for will make the next steps of pitching your tent much smoother and faster. Remember, preparation is key to efficient tent pitching!
Step 3: Lay Down Your Groundsheet
Your groundsheet, also known as a tent footprint, is like the unsung hero of your tent setup. It might not seem like much, but this piece of material is a lifesaver. It protects the bottom of your tent from wet ground, sharp rocks, and other bits of potentially damaging debris. So, go ahead and unroll it flat on your chosen campsite, making sure it covers the entire area where your tent will be.
Now, one thing to note – you want the groundsheet to be fully covered by your tent. Any edges sticking out will collect and channel rain under your tent, and you might wake up feeling like you’re on a water bed – fun at a party, but not so much when camping. Adjust it until it’s just right, and then you’re ready to move on to the poles.
Still not sure what a tent footprint is? Check out my post titled, “What Is A Tent Footprint“.
Step 4: Assemble the Tent Poles
This is where the real fun begins. Tent poles are like the skeleton of your tent, providing the structure it needs to stand up against the wind. The majority of tents come with poles that are segmented and held together with an elastic shock cord. Your job is to connect these segments together to create one or several long, solid poles. They should snap together fairly easily – kind of like putting together pieces of a puzzle.
As you’re doing this, remember to handle the poles with care. They may seem sturdy (and they are), but forcing them together or yanking them apart can cause the shock cord inside to stretch or break. Also, some tents might have poles of different lengths for different parts of the tent. Pay attention to the instructions to know which is which. Once your poles are assembled, you’re one step closer to having your tent up and ready.
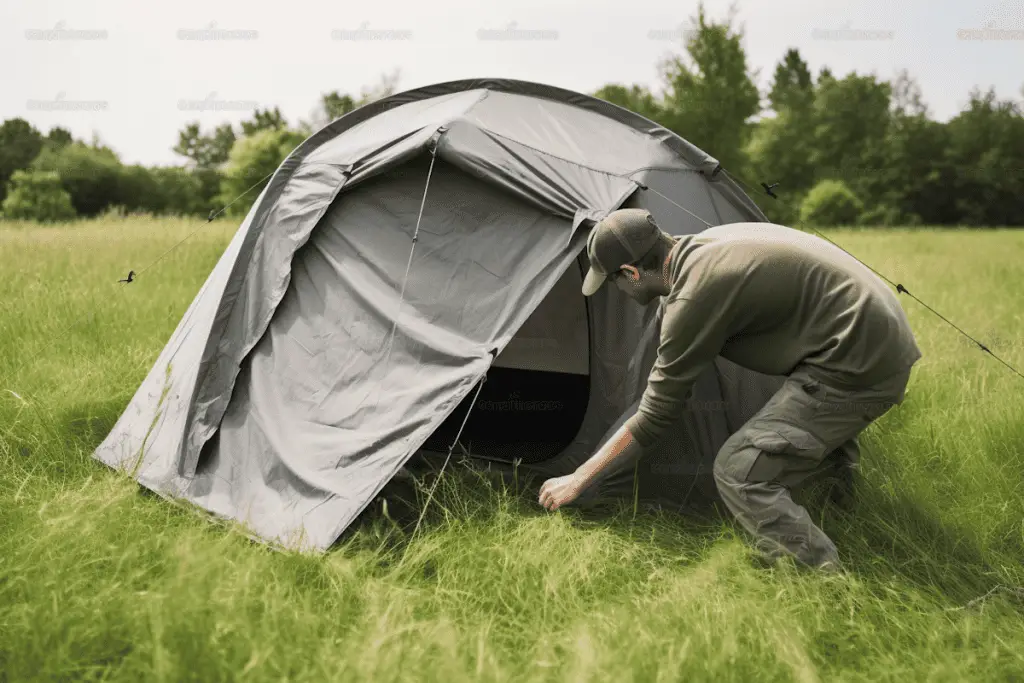
Step 5: Set Up the Tent
Now, this is where your tent starts coming to life. Spread the tent out on top of the groundsheet, making sure the door is facing the direction you want. Once it’s all spread out, locate the pole sleeves or clips. They’re usually pretty easy to spot – look for long fabric tunnels or plastic clips attached to the body of the tent.
Gently thread your assembled poles through these sleeves or attach them to the clips, depending on your tent’s design. This process can sometimes feel like threading a needle, so be patient and take your time. Don’t worry about the tent looking a little floppy at this stage – that’s perfectly normal! The tent will start to take shape in the next step when you raise it. With the poles attached, your tent has gone from a flat piece of fabric to a 3D structure. Exciting, right? On to the next step!
Step 6: Raise the Tent
This is the step where the magic really happens! Now that your poles are securely threaded through your tent or attached to the clips, it’s time to get your tent standing. One by one, insert the ends of each pole into the corresponding holes, grommets, or clips at the base of your tent. As you do this, your tent will start to lift off the ground and take its full shape.
Now, be gentle and patient here. Forcing the poles could lead to bent or broken poles, or even tears in your tent fabric. And no one wants that. Make sure each pole is securely fastened and your tent stands up evenly. This might take a bit of adjusting, but hey, Rome wasn’t built in a day, right? Once you’re done, take a step back and admire your work. Your tent’s standing! It’s really starting to look like a home away from home now. Let’s keep the momentum going!
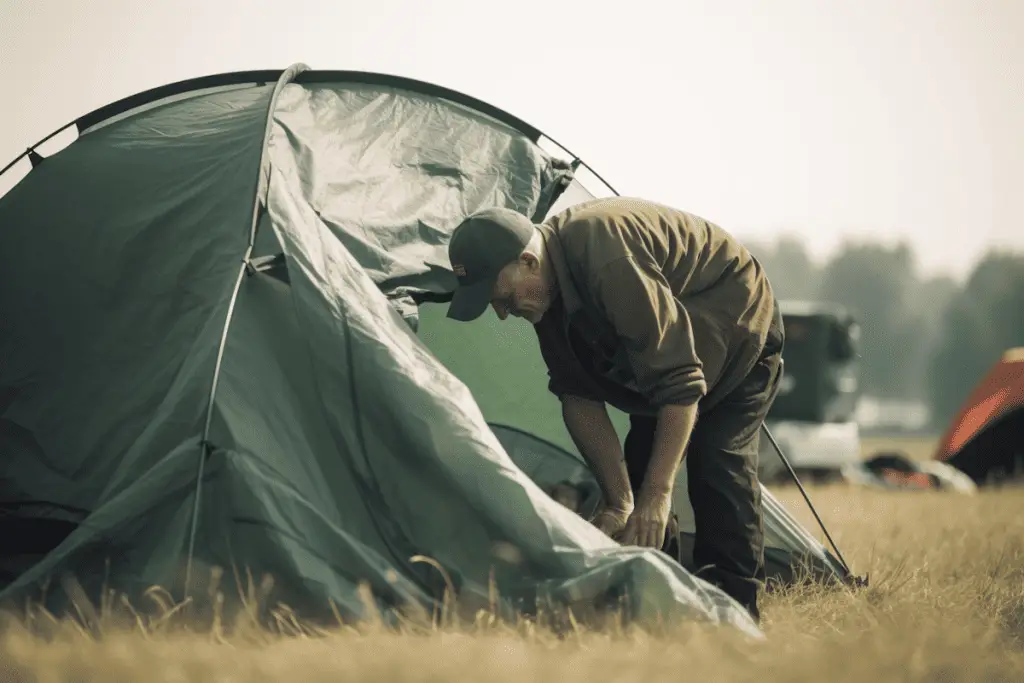
Step 7: Secure Your Tent
With your tent standing tall, it’s time to make sure it stays that way. Enter tent stakes. These little guys are going to anchor your tent to the ground and keep it from becoming a giant kite in the wind. Locate the loops or rings at the corners and sides of your tent, which are typically at the end of guy lines (thin ropes).
Start pushing your stakes through these loops or rings into the ground at a 45-degree angle, pointing away from the tent. This angle gives the stakes a stronger hold in the ground, keeping your tent more secure. Now, don’t just push them with your hands – some ground can be quite tough. You might need to tap them in gently with a rock or a mallet if you have one.
Your tent’s not going anywhere now, even if the wind picks up. It’s starting to feel more and more like a cozy, secure little shelter, isn’t it? But we’re not done yet – there’s more to make it even better.
Step 8: Add the Rainfly
No one likes unexpected showers, especially when you’re camping. That’s where your rainfly comes in. Think of it as your tent’s personal umbrella. If your tent came with a rainfly, now’s the time to put it to use. Drape it over your tent, making sure it’s covering all the areas you want to protect from potential rain.
Typically, there will be hooks, clips, or ties that you can use to secure the rainfly to the tent poles or directly to the corners of the tent. Make sure it’s secure and taut, but not overly tight as that could lead to strain or tears over time. And just like that, your tent is now ready to face the elements! Now you can sleep easy, knowing you’re prepared for a sudden downpour. As for the sound of raindrops on the tent – well, some people pay for apps to get that kind of ambiance. Lucky you, you’re getting the real deal!
Step 9: Do a Final Check
With your tent pitched and your rainfly in place, it’s time for a final once-over. Walk around your tent, checking to make sure the stakes are secure and the rainfly is correctly attached and taut. It’s like a final quality check to make sure your creation is just as it should be.
And don’t forget the inside of your tent! Ensure the zippers on the door and windows are working properly and that there are no loose flaps or parts that could let in wind, rain, or creepy crawlies. Adjust anything that needs adjusting, fix anything that needs fixing. This is your home for the next little while, after all. And with that, you’re done! Stand back and admire your handiwork. You’ve just pitched a tent like a pro. Now it’s time to kick back, relax, and enjoy the great outdoors.
Tent Troubleshooting Guide
So, you’ve mastered the basics of tent pitching – fantastic! But let’s be real, not all camping trips go as smoothly as we’d like. Sometimes, Mother Nature throws a curveball our way or equipment decides to have a mind of its own. It’s all part of the adventure! In this section, we’ll navigate through some common camping hiccups and equip you with the know-how to tackle them head-on. Remember, a true camper isn’t defined by the challenges they face, but by how they overcome them. Let’s dive in and conquer those camping challenges together!
What To Do If Your Tent Pole Snaps
First off, don’t panic. Tent poles can break, especially in windy conditions or with a little too much force. Many tents come with a repair sleeve for this very reason. Simply slide the sleeve over the broken section of the pole and tape it securely. No repair sleeve? A bit of duct tape can work wonders in a pinch. Remember, it doesn’t have to look pretty; it just has to hold until you can replace the pole.
How To Handle a Tent That Keeps Blowing Down
Windy conditions can make tent setup feel like you’re wrangling a wild beast. If you’re alone, try weighing down the corners of the tent with heavy items from your pack as you set it up. Position the narrow end of your tent to face the wind. And always use all available guy lines and stakes to secure the tent against the wind.
If you’re still struggling, read our how-to guide on camping in high winds. There, you’ll get tips and tricks for dealing windy camping conditions.
The Ground Is Too Tough For Tent Spikes
Sometimes, the ground is just uncooperative. If you can’t push your stakes into the ground, try placing heavy rocks on top of them instead. No rocks? Tie the guy lines around sturdy tree branches.
It’s Already Raining and My Tent Isn’t Set Up Yet
If rain starts to fall during your setup, prioritize getting the rainfly on first. It’ll keep the inside of the tent dry while you finish setting up. If your tent is already wet, try to dry it out as best as you can before bedtime to avoid a damp night’s sleep.
Remember, camping is all about adaptation and resilience. Issues will arise, but with a little bit of knowledge and creativity, you’ll be able to overcome them.
Concluding Your Journey to Camping Mastery
And there you have it, folks! You’ve ventured from choosing the perfect campsite, navigated through the ins and outs of tent setup, and even conquered potential camping challenges like a pro. Who knew you had it in you? Well, we did, of course! Now you’re more than ready to tackle your next camping trip with confidence and skill.
Remember, it’s all about enjoying the journey, not just the destination. Embrace the hiccups along the way – they’re part of the adventure and the stories you’ll tell later. So go forth, pitch that tent, and revel in the beauty of the great outdoors. You’re not just a camper now, you’re a resilient adventurer, ready for whatever comes your way.

Until our next camping guide, keep exploring, keep learning, and above all, keep loving every moment under the vast, starry sky.