Knowing how to stake a tent in perfect conditions and knowing how to do it under all conditions separates the beginner from the pro. In this ultimate guide to tent staking, I’ll teach you everything you need to know to be the pro.
Why Proper Tent Staking Matters: It’s More Important Than You Think
You might be thinking, “Eh, it’s just tent staking. How important could it really be?” The answer is: incredibly important! Yes, I know it might not sound like the most exciting part of your camping trip. But believe me, it’s a vital step that could make or break your outdoor experience.
Imagine this: you’ve spent a long day hiking, you’ve finally reached your campsite, and you’ve set up your tent. You’re ready to call it a day. But in the middle of the night, a gust of wind comes sweeping through and – woosh! – your tent is suddenly flapping wildly in the wind or, worse, lifted clear off the ground because it wasn’t properly staked. Not the best way to spend a night under the stars, right?
Proper tent staking does more than just keep your tent grounded. It provides stability, prevents damage to your tent, and ensures that you stay comfortable and protected from the elements throughout your camping trip. The right staking technique can help your tent withstand heavy rain, strong winds, and even snow.
The bottom line is this: taking the time to stake your tent correctly could mean the difference between a cozy night’s sleep and a tent-less, wind-blown disaster. It’s definitely worth that extra bit of time and attention. So let’s dive in and learn how to do it right.
The Right Tools for the Job: What You’ll Need to Stake Your Tent
Before we start talking about the process itself, let’s make sure you’ve got all the necessary tools. Trust me, you don’t want to be out in the woods ready to stake your tent only to realize you’re missing a crucial piece of equipment.
The good news? You won’t need a massive toolbox for this. In fact, the list is rather short and sweet.
Firstly, and most obviously, you’ll need tent stakes. These are typically included with your tent, but it’s always a good idea to bring a few extras. Why? Well, stakes can get lost, damaged, or might not be suitable for the particular ground you’re dealing with.
Next up, you’ll need a tent mallet or hammer. This tool is used to drive the stakes into the ground. Sure, you might be able to use a rock in a pinch, but a mallet gives you more control and reduces the chance of damaging your stakes.
A stake puller is another handy tool to have. It can save you a lot of effort (and potentially some broken fingernails) when it’s time to take your tent down.
Finally, bring along some extra guylines. These are the cords that you attach from the tent to the stakes. Extra guylines can provide additional stability in windy conditions and can replace any that get damaged.
With these tools in your camping kit, you’ll be well-prepared to stake your tent securely. Because remember: a well-staked tent is a happy tent!
Choosing Your Champion: Different Types of Tent Stakes
Did you know that not all tent stakes are created equal? Yes, it’s true! Different conditions and terrains call for different types of stakes, and using the right kind can make your tent staking experience a whole lot easier.
Firstly, we have the all-rounder, the classic metal spike stake. These are usually what you get with your tent purchase. They’re great for normal conditions and can be used in a variety of terrains, from grassy fields to forest undergrowth. Just remember, they can bend if the ground is too hard, so use that mallet carefully!
Then, we have the V-shaped stakes, also known as “V-stakes.” These guys offer more grip than the traditional spike stakes and are less likely to bend, which makes them perfect for softer ground or sandy areas where normal stakes might struggle.
Next up, we have Y-shaped stakes. These are particularly good for rocky or hard-packed ground. Their unique shape and design offer superior holding power and resistance against wind.
If you’re camping in snow or sand, you might want to consider snow or sand stakes. These stakes are longer and broader, and they are designed to hold in loose, granular materials where other stakes might just pull out.
Lastly, let’s talk about hook stakes. These are usually made of durable plastic and come with a hook at the top to secure your guylines. They’re lightweight and perfect for backpacking trips.
Here’s a simple table that outlines the different types of tent stakes along with their pros and cons:
| Tent Stake Type | Pros | Cons |
|---|---|---|
| Metal Spike Stake | – Versatile, can be used in a variety of terrains – Often included with tent purchase | – Can bend if the ground is too hard – Not ideal for very soft or loose ground |
| V-Stake | – Offers more grip than spike stakes – Less likely to bend | – Might not be suitable for hard, rocky ground – Can be heavier than spike stakes |
| Y-Stake | – Good for rocky or hard-packed ground – Superior holding power | – Can be more expensive – Heavier, not ideal for backpacking |
| Snow/Sand Stake | – Designed for loose, granular ground (sand or snow) | – Not suitable for normal or hard ground – Larger and heavier, may be cumbersome to carry |
| Hook Stake | – Lightweight, good for backpacking – Durable plastic construction | – May not hold as well in extreme conditions – Plastic can break in very hard ground |
Remember, each stake type has its strengths and weaknesses. The best choice for you will depend on where you plan to camp and the type of ground you’ll be setting up your tent on.
Where Can I Stake My Tent? – Selecting Your Campsite
Before you even get to staking your tent, you need to find the right place to set up camp. The spot you choose can have a big impact on your tent staking experience and, more broadly, on your entire camping trip.
Picture this: you’ve found a beautiful, flat spot right next to a stream. Sounds ideal, right? But if it rains heavily, that stream could swell, and your tent might end up in the middle of a mini flood. Not exactly the relaxing night in nature you were hoping for!
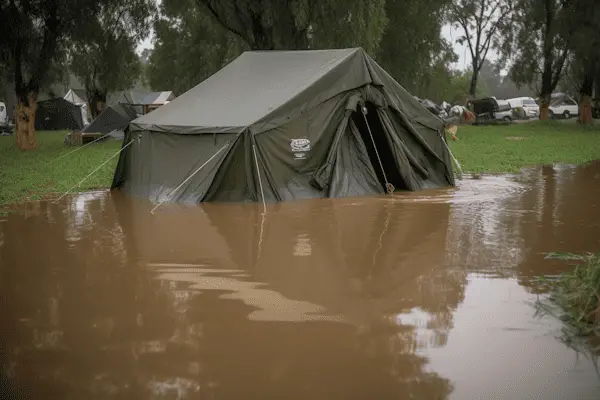
The first rule of campsite selection is to consider safety. You want to avoid spots that are prone to flooding or falling branches, or too close to cliffs or unstable ground. Look for a site that is flat and sheltered, preferably at a higher elevation to avoid any water runoff issues.
Secondly, think about comfort. Avoid setting up your tent on rocky ground or right on top of roots if possible, unless you enjoy sleeping on a lumpy bed! A grassy or sandy area can provide a much more comfortable surface for you to sleep on.
Finally, think about the environment. Always try to camp on durable surfaces to minimize your impact on the environment. Follow the principles of Leave No Trace, which means you should aim to camp at least 200 feet from lakes and streams to protect water sources.
Remember, choosing the right campsite is not just about the view (although that’s a nice bonus!). It’s about safety, comfort, and respecting nature. Make the right choice, and you’ll be well on your way to a fantastic camping adventure.
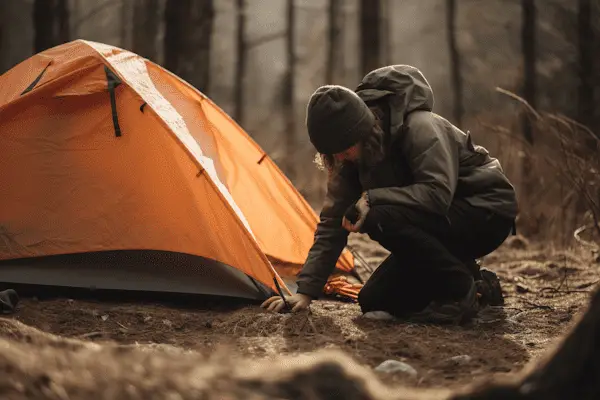
The Basic Steps for Staking a Tent
Okay, now that we’ve covered all the prep work, it’s time to get down to business. Staking a tent is pretty straightforward once you’ve got the hang of it. Let’s go through the basic steps:
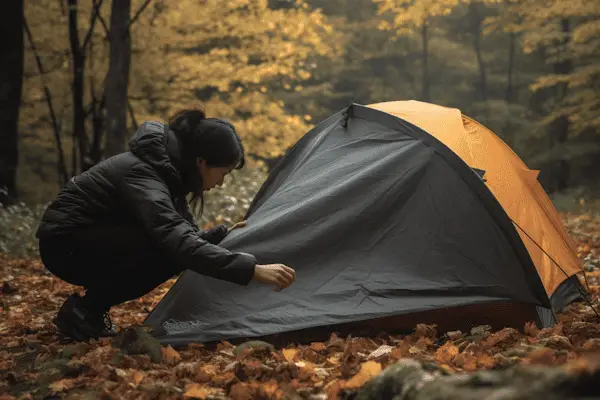
Step one: lay out your tent. Spread your tent out on the chosen spot, align it in the direction you want, and smooth out any wrinkles.
Step two: insert the stakes. Start at one corner of the tent. Hold the stake at a 45-degree angle, with the top of the stake pointing away from the tent. Why the angle? It provides more stability and makes the stakes less likely to pull out.
Step three: hammer it in. Using your mallet (or a rock if you’re going old-school), gently tap the stake into the ground. Be careful not to hit it too hard – you don’t want to bend your stakes.
Step four: repeat for all corners. Move to the next corner and repeat the process until all the corners of the tent are staked down.
Step five: add the guylines. Attach the guylines (the ropes) from the tent to the stakes. They should be taut but not overly tight. Adjust as needed.
That’s it. Your tent is now staked. Now, keep in mind that these are just the basic steps. Depending on your specific tent and the conditions, you might need to adjust your approach. But as long as you’ve secured your tent to the ground, you’re off to a good start.
One more thing: always double-check your stakes before you call it a night. You want to make sure they’re secure and not likely to come loose during the night. Because nobody wants to wake up in a collapsed tent!
Terrain Tactics: Staking Techniques for Different Ground Types
Staking a tent is not a one-size-fits-all situation. Depending on the type of ground you’re dealing with, you might need to tweak your staking technique. But don’t worry – I’ve got some handy tips for you.
First, let’s tackle soft ground. This can be a bit tricky because the stakes might not hold as well as you’d like. The trick here is to angle your stakes horizontally rather than vertically and to use longer stakes if you have them. You can also use larger objects, like rocks or logs, to help secure the stakes.
Now, what about hard, rocky ground? This is where a sturdy stake like a Y-stake can come in handy. You might have to search a bit to find a spot where you can hammer in the stake. But don’t get discouraged. Just be patient, and remember: safety glasses are a good idea in case of flying rock chips!
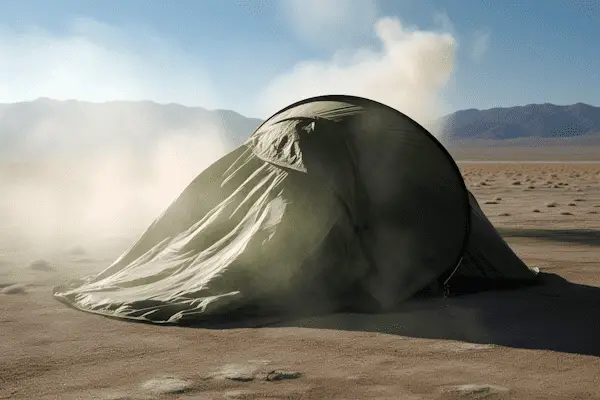
For sandy or snowy conditions, wider, longer stakes or even special snow or sand stakes will be your best friends. Bury them horizontally a few inches under the surface for the best hold. If the snow is very soft, you might also need to pack it down a bit before staking your tent.
Finally, let’s talk about windy conditions. Extra guylines can add stability to your tent in a windstorm. Position your tent so the smallest side faces the wind, and use all available guyline points to secure it.
Remember, no two camping trips are exactly alike. You’ll likely encounter a variety of ground types and weather conditions in your outdoor adventures. But with these tips, you’ll be able to stake your tent securely, no matter what Mother Nature throws at you.
Here’s a table that summarizes the different staking techniques for various ground types:
| Ground Type | Staking Technique |
|---|---|
| Soft Ground | – Angle your stakes horizontally rather than vertically. – Use longer stakes if available. – Use larger objects (like rocks or logs) to secure the stakes. |
| Hard, Rocky Ground | – Use a sturdy stake like a Y-stake. – Search for suitable spots to hammer in the stake. – Wear safety glasses to protect against flying rock chips. |
| Sandy or Snowy Conditions | – Use wider, longer stakes or special snow/sand stakes. – Bury stakes horizontally a few inches under the surface. – If snow is soft, pack it down before staking. |
| Windy Conditions | – Use extra guylines for added stability. – Position your tent so the smallest side faces the wind. – Use all available guyline points to secure the tent. |
These guidelines should give you a good starting point, but remember: every camping situation is unique. Always be ready to adapt your staking technique to suit your particular conditions and terrain.
How To Stake a Tent In Windy Conditions
Let’s talk about the wind. It’s one of those unpredictable elements that can add an unexpected challenge to your camping trip. But don’t let a bit of breeze blow you off course – there are ways to secure your tent even in the windiest of conditions.
First, let’s be smart about where we set up our tent. Position the smallest side of your tent to face into the wind. This reduces the surface area that the wind can push against and helps prevent your tent from turning into a giant sail. Also, try to find a natural windbreak if possible, like a group of trees or a large rock.
Now, when it comes to staking, you’re going to want to use every guyline attachment point your tent has to offer. Guylines are your tent’s best friend in windy conditions. They add extra stability and help distribute the wind’s force more evenly across your tent.
For the stakes themselves, consider using heavier-duty stakes, like Y-stakes or V-stakes. They offer superior holding power, which is exactly what you want when the wind picks up.
And here’s a little pro tip for you: consider adding extra weight to your tent. You can use rocks or logs to weigh down the inside corners of your tent. Just be sure they’re clean and dry so they don’t damage your tent floor.
Remember, camping in windy conditions can be a bit challenging, but with the right techniques and a bit of preparation, you can ensure a secure and comfortable night’s sleep, no matter how strong the breeze.
Camping Done Right: Maintaining Your Tent and Stakes
Just like any other gear you use and love, your tent and stakes deserve some TLC. Proper maintenance can extend their life and ensure they’re always ready for your next adventure.
First things first: after each trip, give your tent and stakes a good clean. Dust, dirt, and grime can damage the material over time. Use a mild soap and a soft sponge to gently clean your gear, and make sure to rinse thoroughly.
Don’t forget to check your stakes for any signs of damage. Are they bent? Do they have any sharp edges that might damage your tent? If they’re beyond repair, it might be time to invest in a new set. Remember, a solid stake can make all the difference in securing your tent.
Drying your tent and stakes properly is crucial. Never pack your tent away when it’s still wet or damp – this can lead to mildew, which can damage the material and create unpleasant odors. If you have to pack up a wet tent because of rain, make sure to unpack and dry it as soon as you get home.
Finally, store your tent and stakes in a cool, dry place. Keep your stakes in a separate bag to avoid accidentally puncturing your tent. And always loosen the guylines when you pack your tent away to reduce tension on the seams.
Proper maintenance of your camping gear might take a little extra time, but it’s worth it in the long run. By keeping your tent and stakes clean, dry, and well-stored, you’ll ensure they’re ready to accompany you on many more outdoor adventures.
Wise Beyond the Wilderness: Tips and Tricks for Better Tent Staking
As we wrap up our guide to tent staking, let’s share some additional tips and tricks that can make your camping experience even better. Trust me, these nuggets of wisdom can really come in handy when you’re out in the wilderness.
One of the most important tips is to always carry extra stakes. You never know when you might lose one or when one might bend or break. Having a few spares in your pack can save the day.
When it comes to hammering in your stakes, use a rubber mallet if possible. It’s less likely to damage your stakes than a regular hammer. But if you’re in a pinch, a rock can also do the trick – just be gentle!
If you’re dealing with really hard ground, you might find it difficult to drive your stakes in. In such cases, try soaking the ground with some water. This can soften the ground and make the job easier.
Another neat trick is to use glow-in-the-dark or reflective cord for your guylines. This can prevent trips and falls during nighttime bathroom breaks.
And finally, remember that practice makes perfect. Staking a tent might seem a bit daunting at first, but the more you do it, the easier it gets. So don’t be discouraged if you don’t get it right the first time.
Camping is all about learning, adapting, and connecting with nature. So embrace the experience, learn from your mistakes, and most importantly, have fun.
Problem-Solving in the Great Outdoors: Troubleshooting Common Tent Staking Issues
Even the most seasoned campers run into issues from time to time, especially when it comes to tent staking. Don’t fret – many of these problems have simple solutions that can get you back on track and enjoying the great outdoors in no time.
A common problem is stakes pulling out of the ground, which is often due to soft or sandy soil. If you’re running into this issue, try using longer stakes or burying your stakes at a horizontal angle to get more grip.
On the other hand, if you’re dealing with extremely hard or rocky ground where stakes won’t penetrate, try finding softer patches of soil or use rock outcroppings to secure your guylines. In a pinch, you can also use heavy rocks placed inside the corners of your tent for added stability.
Windy conditions can also create tent-staking challenges. If your tent is flapping around despite being staked, make sure to use all the guylines and anchor points on your tent. Consider adding more stakes or weights, like rocks or logs, to the guylines to increase stability.
Bent or damaged stakes are another common issue. Always carry extra stakes with you for replacements, and remember to angle your stakes at about 45 degrees away from the tent for the best hold and less chance of bending.
Finally, keep in mind that no matter what issues you encounter, patience and adaptability are key. Staying calm, assessing the situation, and trying different solutions will go a long way in solving any tent-staking problems you may run into.